Table of Contents
CRITICAL SAFETY WARNING
This installation involves safety-critical systems including airbags and steering components. Improper installation can result in:
- ⚠Airbag malfunction or accidental deployment causing serious injury or death
- ⚠Steering failure resulting in loss of vehicle control
- ⚠Electrical system damage or fire hazard
- ⚠Voided vehicle warranty
RECOMMENDATION: This installation should only be performed by qualified automotive technicians with proper training, tools, and experience. If you lack the necessary expertise, please seek professional installation services.
Tools and Equipment Required
Essential Tools
- • Socket set (metric and standard)
- • Torque wrench (critical for steering components)
- • Trim removal tools (plastic pry tools)
- • Screwdriver set (Phillips and flathead)
- • Allen key set (hex keys)
- • Steering wheel puller (vehicle-specific)
Safety Equipment
- • Safety glasses
- • Insulated gloves (for electrical work)
- • Multimeter (for electrical testing)
- • Battery terminal disconnect tool
- • Fire extinguisher (Class C for electrical)
Important Note
Some vehicles require specialized tools (e.g., BMW steering wheel holder tool, Mercedes airbag release tool). Verify tool requirements for your specific vehicle before beginning installation.
Pre-Installation Preparation
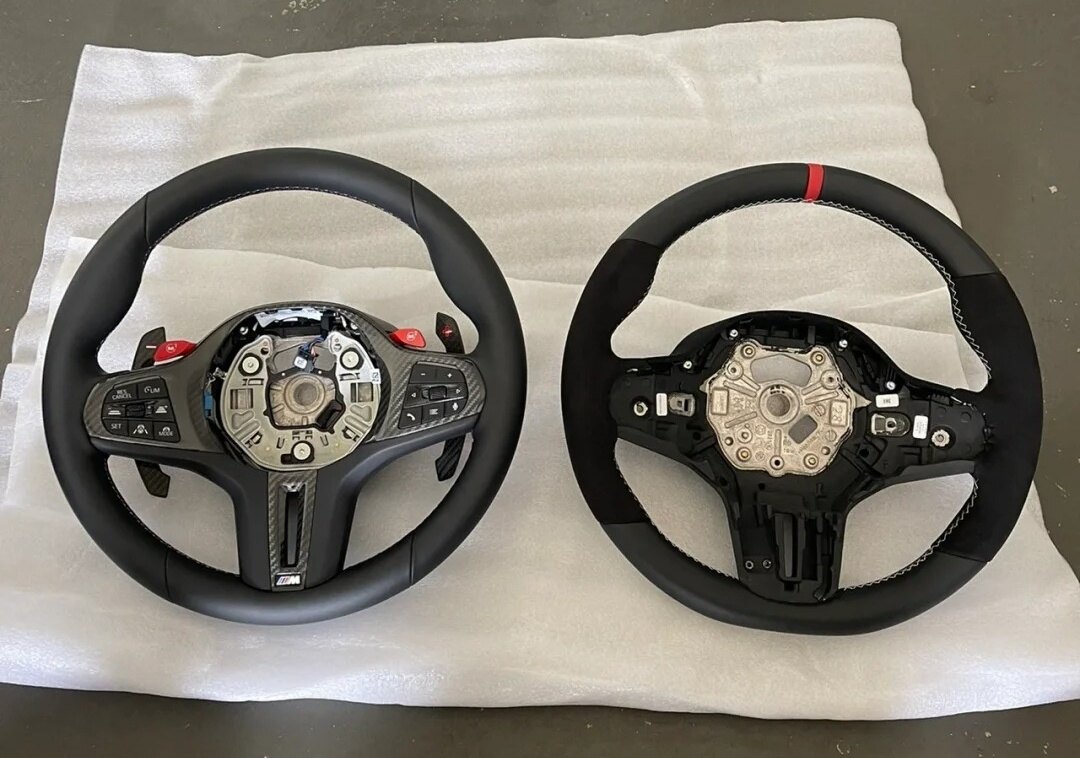
- Verify Compatibility: Confirm that the new steering wheel is compatible with your specific vehicle make, model, year, and trim level. Check spline pattern, mounting holes, and electrical connectors.
- Inspect Components: Before installation, inspect the new steering wheel for any shipping damage. Verify all electrical connectors, mounting hardware, and components are present and undamaged.
- Review Documentation: Read all installation instructions and wiring diagrams provided with the new steering wheel. Familiarize yourself with the complete process before starting.
- Prepare Workspace: Park vehicle on level surface in well-lit area. Ensure adequate space to work around the driver's seat. Remove any valuables from the vehicle.
- Disconnect Accessories: Remove any aftermarket accessories connected to the steering column (phone mounts, GPS devices, etc.).
Step 1: Battery Disconnection
CRITICAL SAFETY STEP - DO NOT SKIP
- Turn Off Ignition: Ensure the ignition is completely off and remove the key from the vehicle (or ensure key fob is outside the vehicle for keyless systems).
- Locate Battery: Open the hood and locate the vehicle battery. In some vehicles, the battery may be in the trunk or under the rear seat.
- Disconnect Negative Terminal First: Using appropriate socket or wrench, loosen the negative (-) battery terminal clamp. Remove the cable from the battery terminal and secure it away from the battery post.
- Disconnect Positive Terminal: Repeat the process for the positive (+) battery terminal.
- Wait Period: Wait minimum 10-15 minutes after battery disconnection before proceeding. This allows residual electrical charge to dissipate and reduces risk of accidental airbag deployment.
Why This Matters
Modern vehicles have capacitors and backup power systems that can retain enough energy to deploy airbags even after battery disconnection. The waiting period ensures these systems fully discharge.
Step 2: Airbag Module Removal
Airbag removal procedures vary significantly by vehicle manufacturer and model. Always refer to vehicle-specific service manual for detailed instructions.
General Procedure
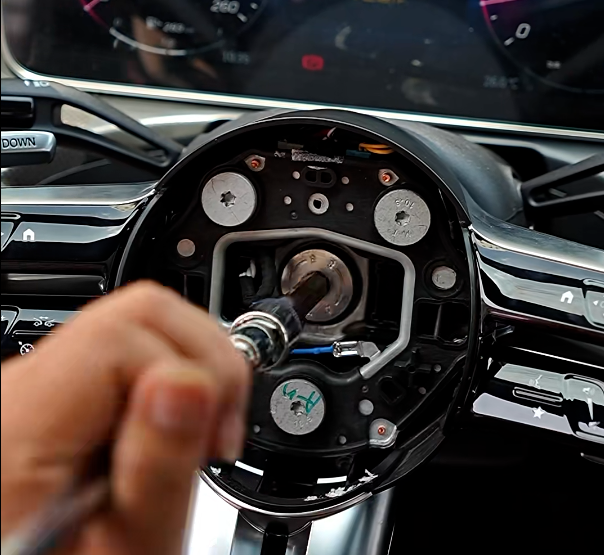
- Access Mounting Points: Most steering wheels have airbag access ports on the sides or back of the wheel. Some require removal of trim panels first.
- Release Retention Mechanism: Airbags are typically secured with spring clips, bolts, or Torx screws. Use appropriate tools to release the retention system.
- Disconnect Electrical Connectors: Carefully disconnect the airbag electrical connector(s). Most have locking tabs that must be depressed before removal.
- Safe Storage: Place the airbag module in a safe location with the trim face pointing upward, away from potential impact or debris.
Airbag Handling Safety
- • Never place objects on top of the airbag module
- • Keep airbag away from heat sources and sparks
- • Handle with care to avoid damaging connectors
- • Store in secure location where it cannot fall
- • If airbag deploys accidentally, evacuate area and ventilate
Step 3: Old Steering Wheel Removal
- Mark Alignment: Use a marker or tape to mark the current position of the steering wheel relative to the steering column shaft. This helps ensure proper alignment during reinstallation.
- Remove Center Nut/Bolt: Using appropriate socket (typically 24mm for most vehicles), remove the center retaining nut or bolt. Do not remove completely yet – leave a few threads engaged.
- Use Steering Wheel Puller: Attach the steering wheel puller tool according to manufacturer instructions. Tighten the puller gradually to push the wheel off the splined shaft.
- DO NOT Hammer: Never use a hammer to remove a steering wheel. This can damage the airbag clockspring, steering column bearings, or other components.
- Remove Center Nut Completely: Once the wheel is loose on the splines, remove the center nut completely and carefully slide the steering wheel off the shaft.
- Disconnect Remaining Connectors: If not already disconnected, remove any remaining electrical connectors from the old steering wheel.
Step 4: New Steering Wheel Installation
- Transfer Components: If necessary, transfer any components from the old steering wheel to the new one (clockspring, turn signal cancel cam, etc.).
- Align Splines: Carefully align the splines on the new steering wheel with the steering column shaft. Use the alignment marks made during removal as reference.
- Install Steering Wheel: Slide the new steering wheel onto the shaft, ensuring full engagement of the splines. The wheel should seat completely against the column flange.
- Install Center Nut: Thread the center nut onto the shaft by hand to ensure proper thread engagement. Do not cross-thread.
- Torque to Specification: Using a calibrated torque wrench, tighten the center nut to the manufacturer's specified torque value. See torque specifications section below for common values.
Critical Importance of Proper Torque
Under-torquing can result in steering wheel loosening during operation, potentially causing loss of vehicle control. Over-torquing can strip threads or damage the steering column shaft.
Always use a calibrated torque wrench and verify the setting before tightening.
Step 5: Electrical Connections
- Connect Main Harness: Connect the main electrical harness from the steering column to the new steering wheel. Ensure all connectors click securely into place.
- Connect Airbag: Reconnect the airbag electrical connector. Verify the locking mechanism engages properly.
- Route Wiring: Carefully route all wiring within the steering wheel cavity, ensuring no pinching points or interference with moving components.
- Test Continuity: If equipped with a multimeter, verify electrical continuity for horn circuit and any other functions before final assembly.
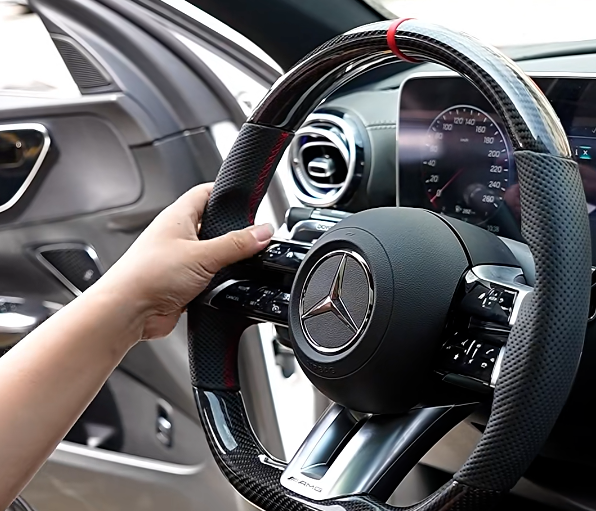
Step 6: Final Assembly and Testing
- Install Airbag Module: Carefully position the airbag module into the steering wheel and secure with the retention mechanism. Verify it is firmly seated.
- Reinstall Trim: Replace any trim panels, covers, or access ports that were removed during installation.
- Reconnect Battery: Reconnect the positive (+) battery terminal first, then the negative (-) terminal. Tighten securely.
- Initial Test: Turn ignition to ON position (do not start engine). Verify no warning lights illuminate on the dashboard, particularly airbag/SRS warning light.
- Function Tests: Test horn operation, multimedia controls, cruise control, heated steering (if equipped), and paddle shifters. All functions should operate correctly.
- Final Inspection: Visually inspect the installation for proper alignment, gap consistency, and secure mounting.
- Test Drive: Conduct a careful test drive to verify steering operation, absence of unusual noises, and proper function of all integrated systems.
Torque Specifications by Vehicle
| Vehicle | Steering Wheel Nut Torque | Airbag Bolt Torque |
|---|---|---|
| BMW F30 / G20 | 60 Nm (44 lb-ft) | 8 Nm (71 lb-in) |
| Mercedes W205 / W213 | 60 Nm (44 lb-ft) | 9 Nm (80 lb-in) |
| Audi A4 / A6 / RS | 60 Nm (44 lb-ft) | 8 Nm (71 lb-in) |
| Tesla Model 3 / Y | 55 Nm (41 lb-ft) | 7 Nm (62 lb-in) |
| Porsche 911 / Cayenne | 60 Nm (44 lb-ft) | 9 Nm (80 lb-in) |
| VW Golf GTI / R | 60 Nm (44 lb-ft) | 8 Nm (71 lb-in) |
Important Notice
Torque specifications can vary by model year and specific configuration. Always verify torque values in the official vehicle service manual before installation. The values above are general guidelines and may not apply to all vehicles.
Troubleshooting Common Issues
Airbag/SRS Warning Light On
Possible Causes:
- • Airbag connector not fully seated
- • Damaged wiring or connector pins
- • Clockspring damaged during installation
- • Insufficient wait time before battery reconnection
Solution: Disconnect battery, wait 10 minutes, verify all connections are secure, reconnect battery. If light persists, diagnostic scan tool required to read fault codes.
Horn Not Working
Possible Causes:
- • Horn wire not connected properly
- • Horn contact plate misaligned
- • Blown horn fuse
- • Damaged clockspring
Solution: Verify horn wire connection, check fuse, test continuity with multimeter. May require clockspring replacement if damaged.
Steering Wheel Crooked
Possible Causes:
- • Improper spline alignment during installation
- • Steering wheel not fully seated on shaft
Solution: Remove steering wheel and reinstall with proper alignment. Mark splines before removal to ensure correct positioning.
Multimedia Controls Not Functioning
Possible Causes:
- • Connector not fully seated
- • Wrong steering wheel model for vehicle
- • Coding/programming required
Solution: Verify connector seating, confirm part compatibility. Some vehicles require coding via diagnostic software to enable steering wheel controls.
Frequently Asked Questions
Can I install a steering wheel by myself?
It is possible, but not recommended unless you have experience with automotive electrical systems and airbag handling procedures. Improper installation can result in airbag malfunction, steering failure, or electrical system damage. Professional installation is strongly recommended.
Do I need to disconnect the battery before installation?
Yes. Disconnecting the battery is absolutely required to prevent accidental airbag deployment during installation. You must disconnect the negative terminal first, wait minimum 10-15 minutes for residual charge to dissipate, then proceed with the installation.
What risks are involved in incorrect installation?
Incorrect installation may cause airbag malfunction (failure to deploy or accidental deployment), steering misalignment, ECU system errors, electrical shorts, or complete steering failure. These issues can result in serious injury, death, or vehicle damage. This is why professional installation is strongly recommended.
Conclusion
Steering wheel installation is a complex procedure that involves safety-critical systems including airbags, steering components, and vehicle electronics. While this guide provides comprehensive instructions, the complexity and risk involved make professional installation the recommended choice for most users.
If you proceed with DIY installation, follow all safety procedures meticulously, use proper tools including a calibrated torque wrench, and verify all systems function correctly before operating the vehicle. When in doubt, consult a qualified automotive technician or professional installer.
Need Professional Installation Support?
YUNZ AUTO provides technical support and installation guidance for all our steering wheel products. Contact our team for assistance or to find certified installers in your area.
Contact Technical Support